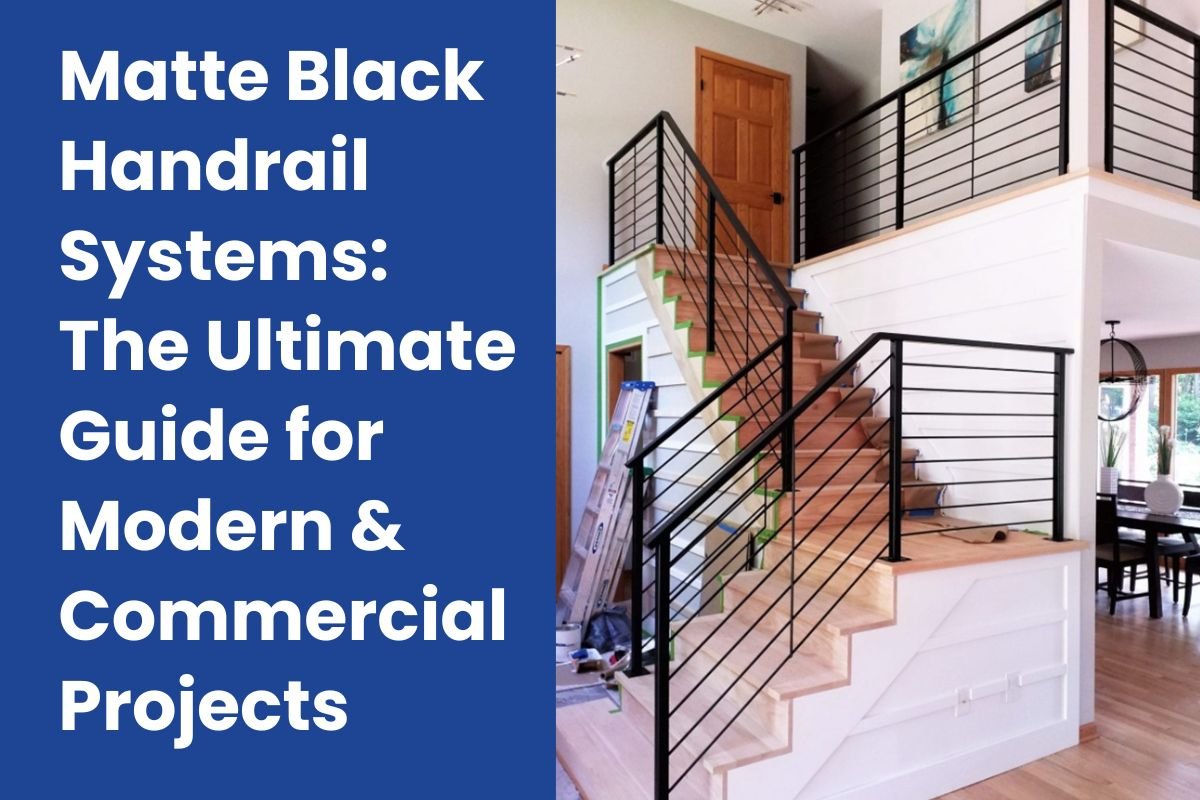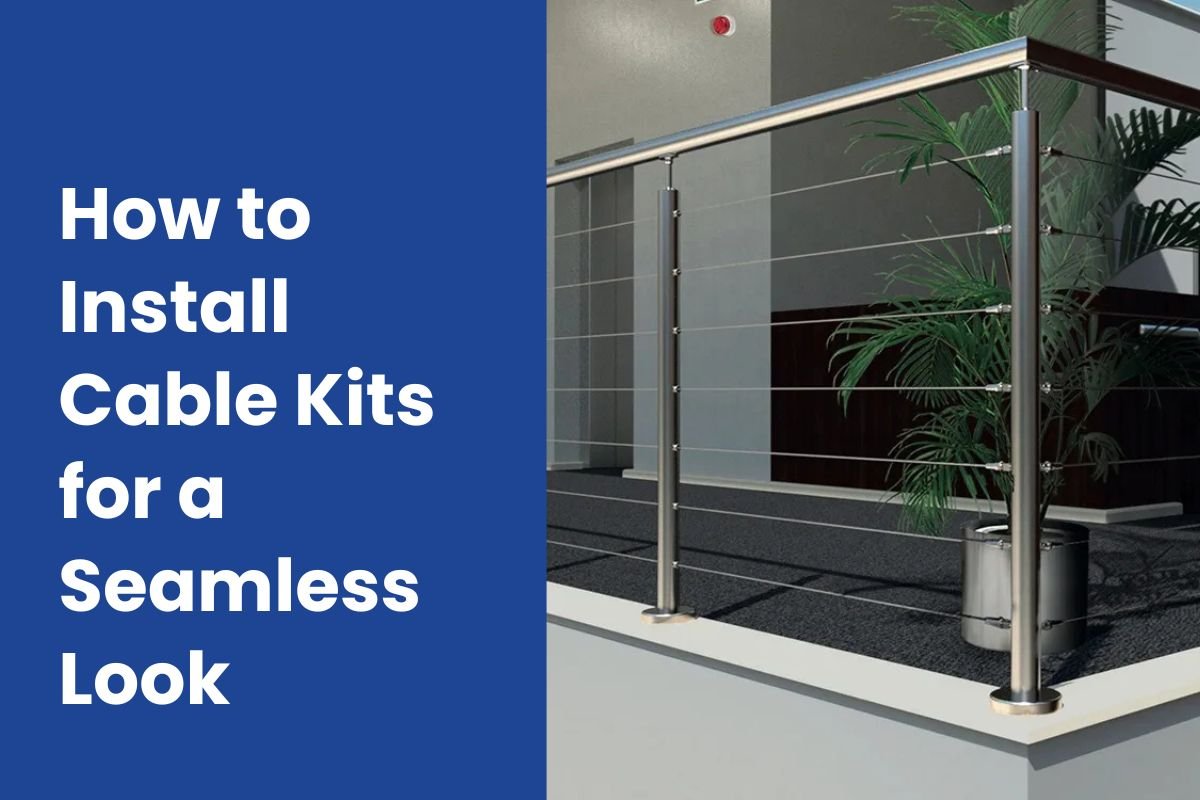
Creating a clean, modern railing system is no longer limited to architects or luxury homes. With the rise of Cable Kits, homeowners, builders, and designers now have access to sleek railing solutions that balance safety, durability, and visual openness. Whether you’re upgrading a deck, balcony, stairway, or terrace, cable railing systems can transform the space without blocking views or light.
This guide explains how to install Cable Kits for a seamless look, while also helping you understand materials, spacing rules, tensioning techniques, and long-term maintenance. If you’re planning a modern railing project and want results that look professionally installed, this article will walk you through every detail.
To explore premium systems and components, visit Unikim ’s official website, a trusted supplier of stainless steel railing solutions.
Cable Kits in Modern Railing Design
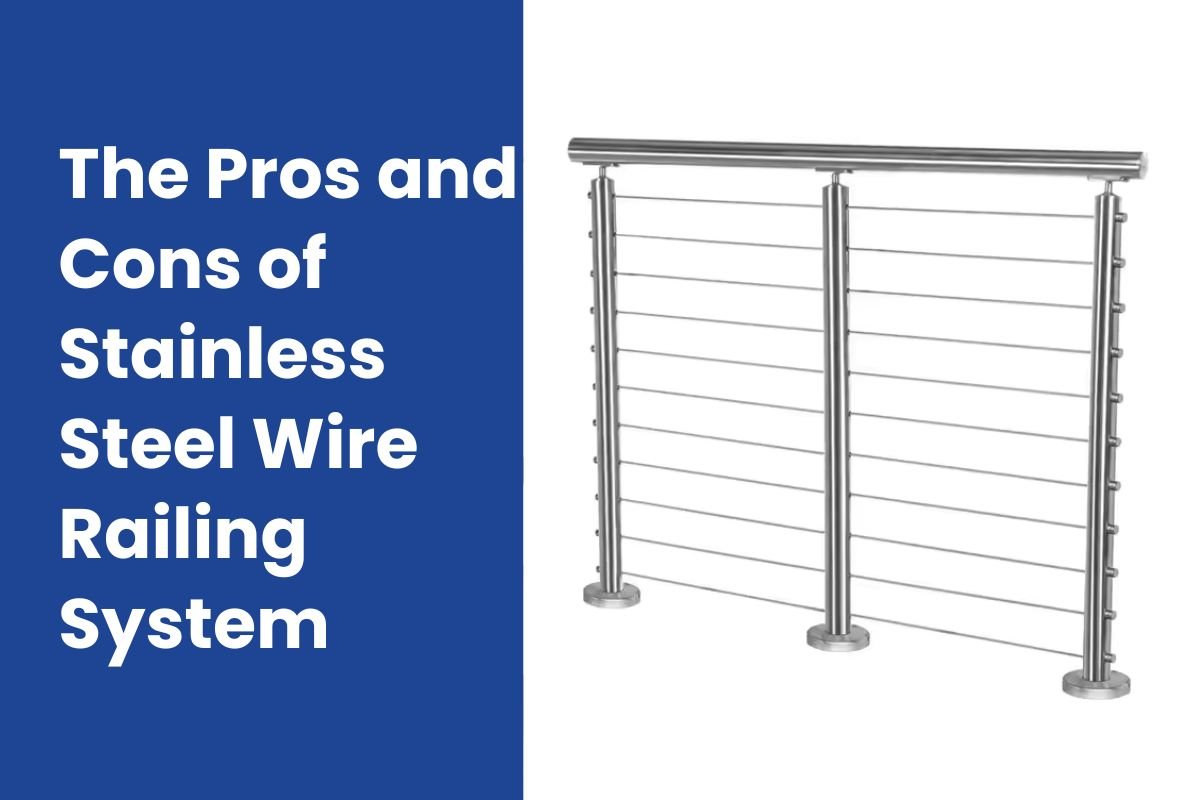
Cable kits are a versatile solution for deck railings, staircases, and other architectural structures. They consist of stainless steel cables, fittings, and hardware designed to create a secure and visually appealing barrier. The minimalist design of cable kits complements contemporary architecture, offering unobstructed views while maintaining safety.
Modern railing designs often incorporate cable kits for their durability and low maintenance. Stainless steel, the primary material used in cable kits, resists corrosion and withstands harsh weather conditions. This makes it an ideal choice for both indoor and outdoor applications.
For more information on cable kits for deck railings, visit Cable Kits for Deck Railings.
Why a Seamless Look Depends on Installation Accuracy
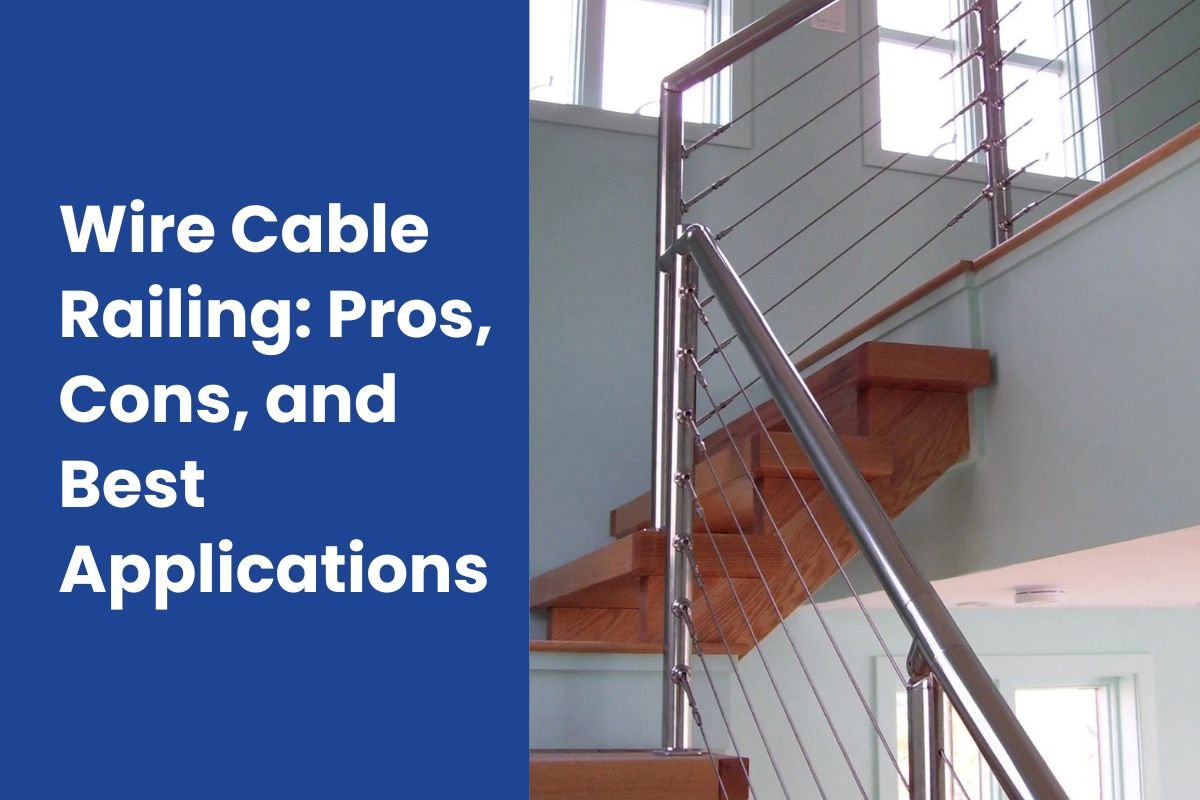
Visual perfection in cable railing installations stems from meticulous attention to measurement and alignment. Parallel cable runs create clean horizontal lines that enhance architectural appeal, while misaligned cables draw immediate attention to installation flaws. Professional results require precision at every stage.
Consistent spacing between cables establishes rhythm across the railing system. Deviations of even 1/8 inch become visually apparent when viewing multiple cable runs simultaneously. Top-quality installations use spacing jigs or templates that ensure identical measurements at every post, creating uniform gaps that appear machine-perfect.
The relationship between cable tension and visual appearance cannot be overstated. Cables under insufficient tension sag noticeably, particularly on longer spans or under load. Conversely, excessive tension can deform posts or pull fittings loose over time. Achieving the optimal tension range—typically 200 to 300 pounds per cable for residential applications—produces taut lines that maintain their appearance indefinitely.
Post plumbness affects every cable passing through the railing system. Posts leaning even slightly in or out create converging or diverging cable patterns that destroy the parallel appearance essential to professional installations. Checking and adjusting posts before drilling or installing hardware prevents problems that become nearly impossible to correct later.
Hardware alignment contributes substantially to the finished appearance. Fittings installed at consistent heights create organized, intentional-looking assemblies. Many professionals use laser levels or string lines to establish reference points, ensuring threaded terminals or cable exits align perfectly across multiple posts.
The finishing details separate adequate installations from exceptional ones. Cables trimmed to identical lengths beyond fittings, consistent fitting orientations, and uniform hardware finishes all contribute to the polished appearance that defines quality work. These refinements require patience but dramatically enhance the final result.
Color consistency in stainless steel components affects perceived quality. Mixing grades or finishes creates visible variations that appear careless. Professional-grade cable kits include matched components manufactured from consistent material batches, ensuring uniform appearance across the entire installation.
Preparing Posts for Cable Kit Installation
Proper post preparation establishes the foundation for successful cable installation. Accurate post spacing determines cable performance and appearance. Most cable railing systems perform optimally with posts spaced 4 to 5 feet apart, balancing cable rigidity requirements against cost and visual preferences.
Begin by verifying post plumbness in both directions. Use a quality level on multiple faces of each post, checking alignment vertically and perpendicular to the railing run. Posts that lean require adjustment before proceeding, as correcting alignment after installing hardware becomes extremely difficult and often damages materials.
Drilling precision determines whether cables align properly across the system. Mark drilling locations using a story pole—a straight board with holes drilled at precise intervals matching desired cable spacing. Transfer these marks to each post, ensuring measurements start from identical reference points. Many installers reference from the top of posts rather than deck surfaces, as deck boards may vary in height.
Select appropriate drill bits for your post material and fitting type. Standard cable systems typically use 1/4-inch to 5/16-inch holes, though specifications vary by manufacturer. Sharp bits produce clean holes without tearout, particularly important when drilling wood posts where splintering around holes creates an unprofessional appearance.
Drill perpendicular to post faces to ensure fittings align properly with cable runs. Angled holes cause cables to bend awkwardly at posts, creating stress concentrations and visual inconsistencies. Using a drill press or drill guide helps maintain accuracy, particularly when working with metal posts where wandering bits can damage expensive materials.
Consider hole reinforcement for wood posts experiencing high loads. Metal grommets or reinforcement plates distribute forces and prevent wood compression around fittings. These additions particularly benefit softwood posts like pine or cedar, which compress more readily than hardwoods under sustained cable tension.
Interior post preparation differs from terminal posts. Through-posts require holes aligned on opposite faces, demanding exceptional accuracy to ensure cables pass straight through without binding. Offset holes create cable angles that increase friction and make tensioning difficult or impossible.
Step-by-Step Guide: How to Install Cable Kits Correctly
Step 1: Mark and Drill Post Holes Accurately
Begin by marking hole locations on each post. Consistent spacing is critical for both aesthetics and code compliance. Many installers use a pre-made drilling template to ensure uniformity.
Drill holes straight and level through each post. Any misalignment will be amplified once cables are tensioned, disrupting the seamless look you’re aiming for.
Step 2: Install Cable Fittings and Anchors
Next, install the cable fittings into the end posts. Swage fittings are commonly used because they provide a clean termination point and strong hold.
For wood posts, lag-mounted fittings are ideal. For metal posts, threaded or through-bolt fittings are more appropriate. High-quality fittings from Unikim are designed to sit flush, reducing visual clutter.
Step 3: Thread and Secure the Cables
Carefully thread each cable through the intermediate posts. Avoid bending or kinking the cable, as this weakens the steel and affects appearance.
Secure the cable ends loosely at first. Full tensioning should only happen once all cables are installed, allowing you to make fine adjustments for alignment.
Step 4: Tension the Cable Kits Gradually
This step defines the final look of your railing. Tension each cable incrementally, working from the center outward. Gradual tightening ensures even load distribution and prevents post deflection.
A properly tensioned cable should feel firm with minimal deflection when pressed. Over-tensioning can damage posts, while under-tensioning results in sagging lines that break the clean aesthetic.
Achieving a Truly Seamless Look with Cable Kits
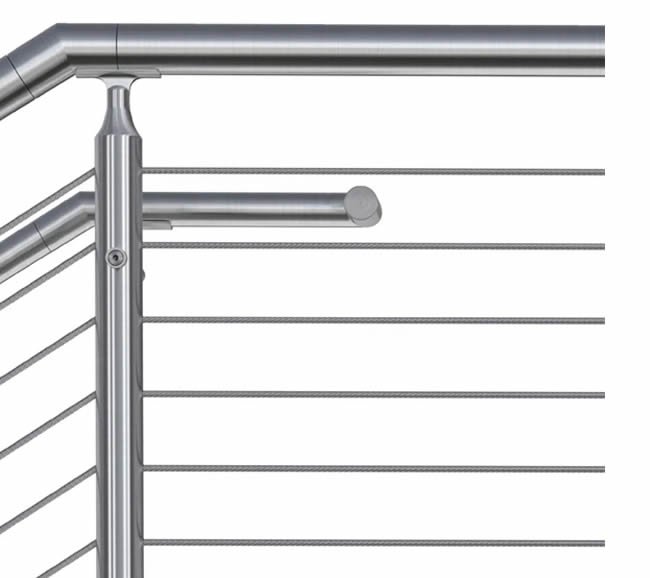
The difference between a basic installation and a seamless one lies in the details. Cable alignment must be visually straight when viewed from all angles. Even minor inconsistencies stand out in minimalist designs.
Hidden fittings and low-profile hardware reduce visual noise. Stainless steel posts with brushed finishes blend naturally with cable lines, while wood posts offer warmth when paired thoughtfully.
Many homeowners choose cable railings for decks because they visually expand the space. UNIKIM explores this concept further in cable kits for deck railings, showcasing how open railings enhance outdoor living areas.
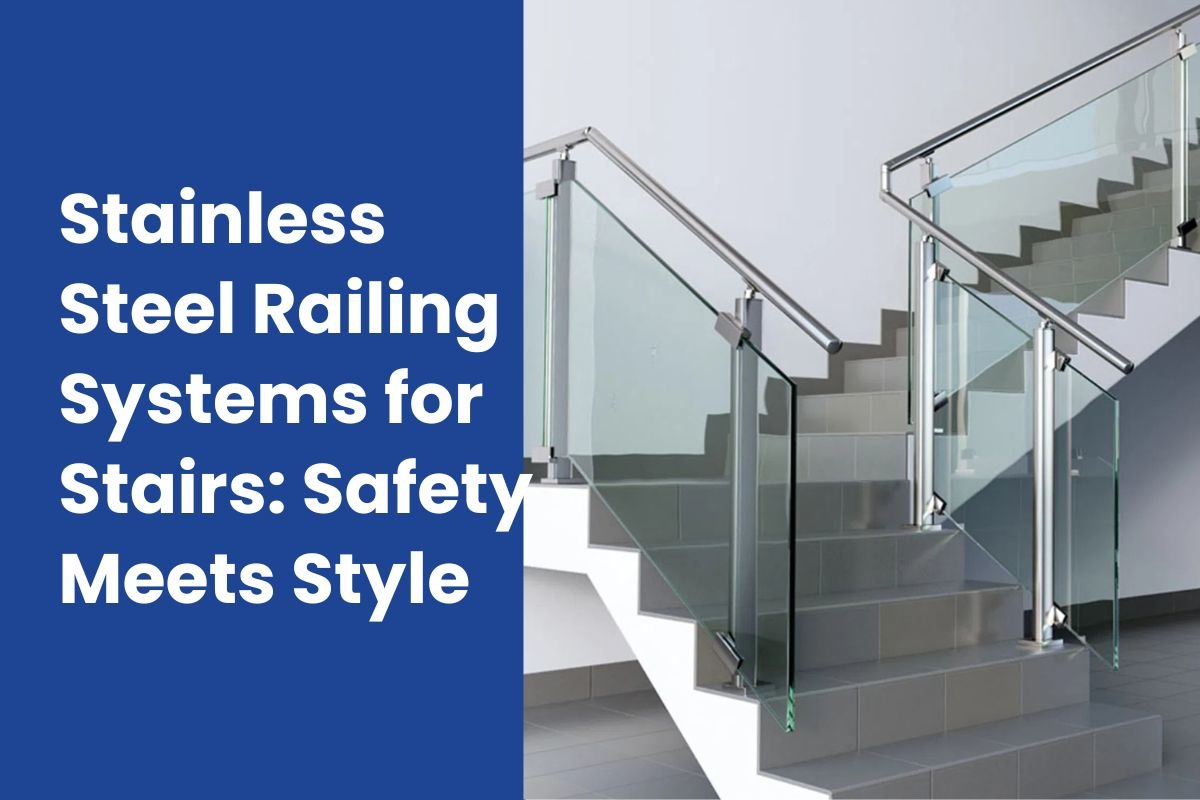
Integrating Cable Kits with Glass and Architectural Elements
Cable kits can be seamlessly integrated with glass panels and other architectural elements. This combination creates a modern, open design that enhances the visual appeal of the space.
When integrating cable kits with glass, ensure that the fittings are compatible with the glass panels. Use stainless steel fittings to maintain a cohesive look. For more information on integrating cable kits with glass, visit Stainless Steel Glass Railing Fitting Slot Tube.
Comparing Cable Kits with Other Railing Systems
Traditional balusters, defined as vertical supports within railings, have been used for centuries. According to Wikipedia’s overview of balusters, these systems prioritize structure but often limit visibility.
Glass railings offer unobstructed views but require frequent cleaning and higher costs. Cable Kits strike a balance, offering durability, openness, and easier maintenance.
Stainless steel balustrade systems also provide excellent longevity. UNIKIM discusses this in detail in stainless steel balustrade kits: durability meets aesthetics, highlighting why steel remains a top choice for modern architecture.
Material Quality and Manufacturing Standards
The quality of materials used in cable kits plays a significant role in their performance and longevity. High-quality stainless steel ensures durability and resistance to corrosion.
Choose cable kits that meet industry standards for manufacturing and material quality. For reliable cable kits, explore Industrial Canopy Systems: Durability Meets Style.
Where to Source High-Quality Cable Kits
Not all cable systems are created equal. Low-grade steel corrodes quickly, especially outdoors. UNIKIM partners with trusted manufacturers like Unikim to ensure consistent quality and engineering standards.
You can also explore installation videos and product demonstrations through Unikim Railings on YouTube for additional visual guidance.
If you need personalized advice, the UNIKIM team is available through their contact page to help you select the right Cable Kits for your project.
Summary
Installing cable kits for a seamless look requires precision, attention to detail, and high-quality materials. By following the steps outlined in this guide, you can achieve a modern, durable, and visually appealing railing design. Whether you’re working on a deck, staircase, or integrating with glass panels, cable kits offer a versatile solution for contemporary architecture.
For more information on cable kits and railing solutions, visit unikim or contact us at Contact Us.
FAQs
What tools are needed for installing cable kits?
You will need a drill, level, tensioning tool, and tension gauge for installing cable kits.
How do I maintain cable kits?
Regularly inspect the cables for tension and alignment. Clean the cables with a mild detergent to remove dirt and debris.
Can cable kits be used indoors?
Yes, cable kits are suitable for both indoor and outdoor applications.
Are cable kits safe for children and pets?
Yes, cable kits are safe when installed correctly with proper tension and spacing.
Where can I purchase high-quality cable kits?
Visit unikim for a wide range of cable kits and railing solutions.