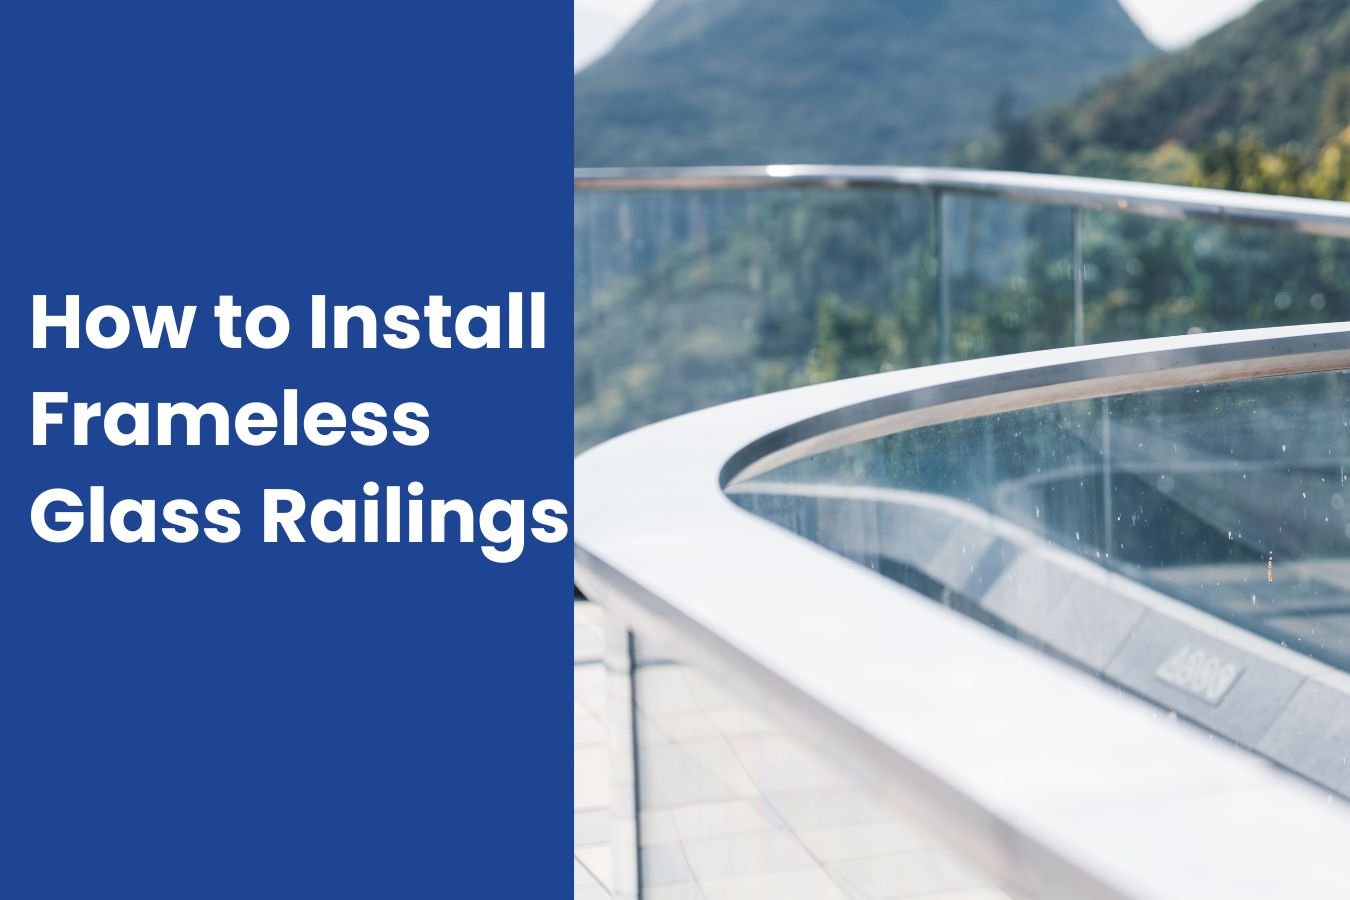
Frameless glass railings have become a hallmark of modern architecture, offering unobstructed views, sleek aesthetics, and superior durability. Whether for residential decks, commercial balconies, or pool enclosures, these railings provide safety without compromising on style. This comprehensive guide will walk you through every step of installing frameless glass railings, from initial inspection to final adjustments.
For premium glass railing systems, explore urailing’s collection.
Frameless Glass Railings Installation
Step 1: Inspect Your Frameless Glass Railings Delivery
Your frameless glass railing system typically includes three key components:
- 12mm tempered glass panels (custom-cut to your dimensions)
- 2205 marine-grade stainless steel spigots (fully cast for durability)
- 6” GRK structural screws (high-strength fasteners)
Important:
- Carefully inspect all parts for damage during transit.
- If any components are missing or damaged, contact your supplier immediately for replacements.
Step 2: Gather Your Team
Glass panels are heavy and require at least two people for safe handling. Ensure all helpers are equipped with:
- Safety boots
- Protective gloves (rubber-palmed for grip)
- Safety glasses
Pro Tip: Avoid installation during rainy weather—wet glass becomes slippery and hazardous.
Step 3: Safety First — Don’t Skip This
This might seem obvious, but it’s often overlooked. Make sure everyone involved wears the right gear:
- Non-slip safety boots or shoes
- Protective eyewear
- Work gloves with rubber grip
Also, check the weather. Rain or moisture can make the glass dangerously slippery. If the forecast isn’t dry, postpone your project.
Learn more about the durability of tempered glass railings.
Step 4: Gather and Organize Your Tools
Here’s your must-have tool list:
- Measuring tape
- Power drill or impact driver
- Torx T30 driver bit
- 6 mm Allen wrench (hex key)
- Square and torpedo level
- Magnetic 24” level
- String line
Depending on your decking material:
- Use a 1/4″ drill bit for wood or composite decking
- Use a hammer drill with a masonry bit for stone or concrete
Organizing your tools beforehand prevents interruptions — and trust us, you’ll thank yourself later.
Step 5: Review Your Installation Drawing
If you ordered your railings from a quality supplier like uRailing, you likely received a custom drawing showing exact measurements. Before you dive into drilling holes, double-check:
- Panel sizes
- Spigot placement
- Overall layout
If anything feels off, stop and review the layout again.
Step 6: Install the Corner Spigots
Start with your corner spigots first. Here’s how you measure:
- Outside corner to center of spigot: 13”
- Inside corner to center of spigot: 8.5”
- Wall/post to center of spigot: 11”
- Outer rim joist edge to screw holes center: ¾”
Be sure to level them perfectly before drilling them in. If needed, refer to this clamp installation guide for more insight.
Step 7: Lay Out Remaining Spigots
This is where accuracy becomes critical. Run a string line between your corner spigots to keep everything in alignment. Then, place each spigot with these measurements in mind:
- Spigots sit 10” in from the glass panel’s outer edge
- Distance between spigots = panel width minus 20”
- Gaps between panels = 1”
Avoid pushing the string line, or you’ll mess up the entire run.
Step 8: Double-Check Panel Sizes
Now that your spigots are laid out, test-fit your glass panels. If things don’t align, it could be an issue with either:
- Your spigot spacing
- The panel sizes
- Or both
Don’t start drilling until everything measures up. Still not sure? Contact the experts at uRailing for advice before proceeding.
Step 9: Time to Drill — Installing the Spigots
Use your power drill or impact driver and only the GRK screws provided. Why? Using anything else may void your warranty — and it compromises safety.
Use your torpedo level to ensure each spigot face is level. If your deck surface isn’t completely flat, use the included shims to level things out.
Pro Tip: A small square helps keep spigots aligned as you fasten them down.
Step 10: Measure Again
Re-measure each installed spigot:
- 10” from the spigot center to the panel edge
- 1” gaps between panels
This is your last chance to correct placement before mounting the glass. Uneven spacing here means wobbly or misaligned railings later.
Step 11: Install the Glass Panels
Here comes the satisfying part — dropping in the glass panels. But be careful:
- Always install the glass straight down into the spigots
- Use a level to ensure they’re perfectly vertical (90°)
- Shim where necessary
Check that each panel aligns in height and angle with the first. Don’t rush. Precision here means stunning results.
Step 12: Cover It Up
Once all panels are secure and checked:
- Tighten the spigot set screws
- Snap on the two-piece cover rings to conceal the screws
And voila — your sleek, modern, frameless glass railings are installed and looking sharp!
Why Choose Frameless Glass Railings?
There’s a reason more homeowners and contractors are choosing frameless glass systems. They’re:
- Durable
- Minimalist in design
- Weather-resistant
- Perfect for both residential and commercial use
Plus, if you’re looking to browse options, head to urailing’s full catalog of glass systems.
Looking to source globally? You can also explore international suppliers like UNIKIM.
Wrapping It Up
Installing frameless glass railings may seem like a big project at first, but once you break it down — it’s totally manageable. Whether you’re boosting curb appeal or crafting a stunning backyard retreat, glass railings add instant value and style.
With the right tools, patience, and help from guides like this, you’re well on your way to achieving that modern, luxurious look. Ready to browse or get started? Visit the urailing product collection and find the perfect system for your space.
FAQs
Do I need a professional to install frameless glass railings?
Not necessarily. If you’re comfortable with tools and follow this guide carefully, you can do it yourself. But if you’re unsure or working with uneven terrain, hiring a pro is smart.
Are frameless glass railings safe?
Absolutely. Especially if you’re using 12mm tempered glass, which is five times stronger than regular glass. Just make sure everything is installed correctly and you follow safety measures.
Can I install these on concrete surfaces?
Yes, you’ll need a hammer drill and masonry bits for drilling. The rest of the steps remain the same.
How do I clean the glass after installation?
Use a soft cloth with glass cleaner or a vinegar-water mix. Avoid harsh chemicals or abrasive materials that could scratch the surface.
Where can I get replacement panels or parts?
You can always get in touch with urailing’s customer support for replacements, customization, or support.