Most railing failures do not start with bad products. They start with railing hardware installation mistakes made in the first hour of the job. A post sits 6 inches too far apart. A cable gets tensioned by feel instead of by spec. A 304 fitting goes into a coastal project. Months later, the cables sag, the glass rattles, and the client calls back.
These problems cost money twice. First you pay for the rework. Then you pay in reputation.
Fortunately, almost every mistake on this list is easy to prevent. You just need the right hardware, the right numbers, and a clear order of operations. UNIKIM manufactures cable railing systems and glass railing systems for contractors, architects, and importers worldwide. Because our team reviews field failures every week, we see the same errors repeat across markets.
Below are the ten most common railing installation problems, plus the fix for each one.
What Counts as Railing Hardware?
Railing hardware is every component that holds the system together. It is not the post or the glass panel alone.
A typical system includes:
- Structural parts: posts, base plates, handrail brackets, and balusters
- Cable components: cable tensioners, swage studs, and cable end fittings
- Glass components: channels, standoffs, clamps, gaskets, and setting blocks
- Finishing parts: stainless steel end caps, elbows, and connectors
Each part carries load or transfers it. So a small hardware error becomes a structural problem fast. For background on how balusters and infill work as a system, see this overview of baluster design.
Why Railing Hardware Installation Mistakes Matter
A railing is a safety product. It must resist a 200 lb concentrated load at the top rail in most jurisdictions. It must also block a 4-inch sphere between infill members.
When installers cut corners, three things happen.
Safety drops. Loose cables widen the gap between runs. Children can push through.
Durability drops. Mixed metals corrode. Threads gall. Fittings loosen under thermal cycling.
Costs rise. Rework on a 100-foot deck can wipe out the margin on the entire job.
Therefore, prevention is always cheaper than repair. Let’s go through the mistakes one by one.
The 10 Most Common Railing Installation Problems
1. Choosing the Wrong Stainless Steel Grade
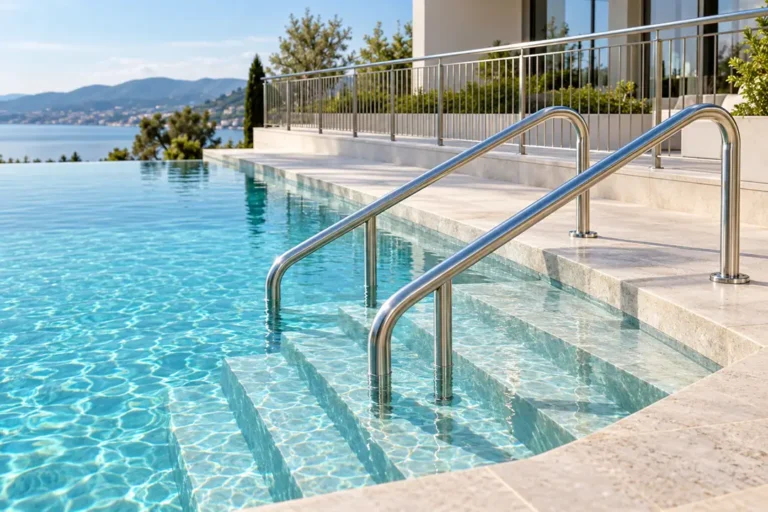
This is the single most expensive mistake in the list. Many buyers order 304 stainless steel hardware for a beachfront project. Six months later, brown staining appears around every fitting.
304 and 316 look identical. However, they behave very differently in salt air. 316 contains molybdenum, which resists chloride pitting.
| Factor | 304 Stainless | 316 Stainless |
|---|---|---|
| Best environment | Indoor, dry inland | Coastal, humid, pool areas |
| Chloride resistance | Moderate | High |
| Relative cost | Lower | 20-30% higher |
| Typical use | Interior stairs, dry decks | Marine decks, balconies, spas |
The fix: Ask one question before ordering. How far is the site from salt water or a chlorinated pool? Within 5 miles, specify 316. UNIKIM supplies both grades, and our team marks the grade on every carton.
2. Getting Post Spacing Wrong
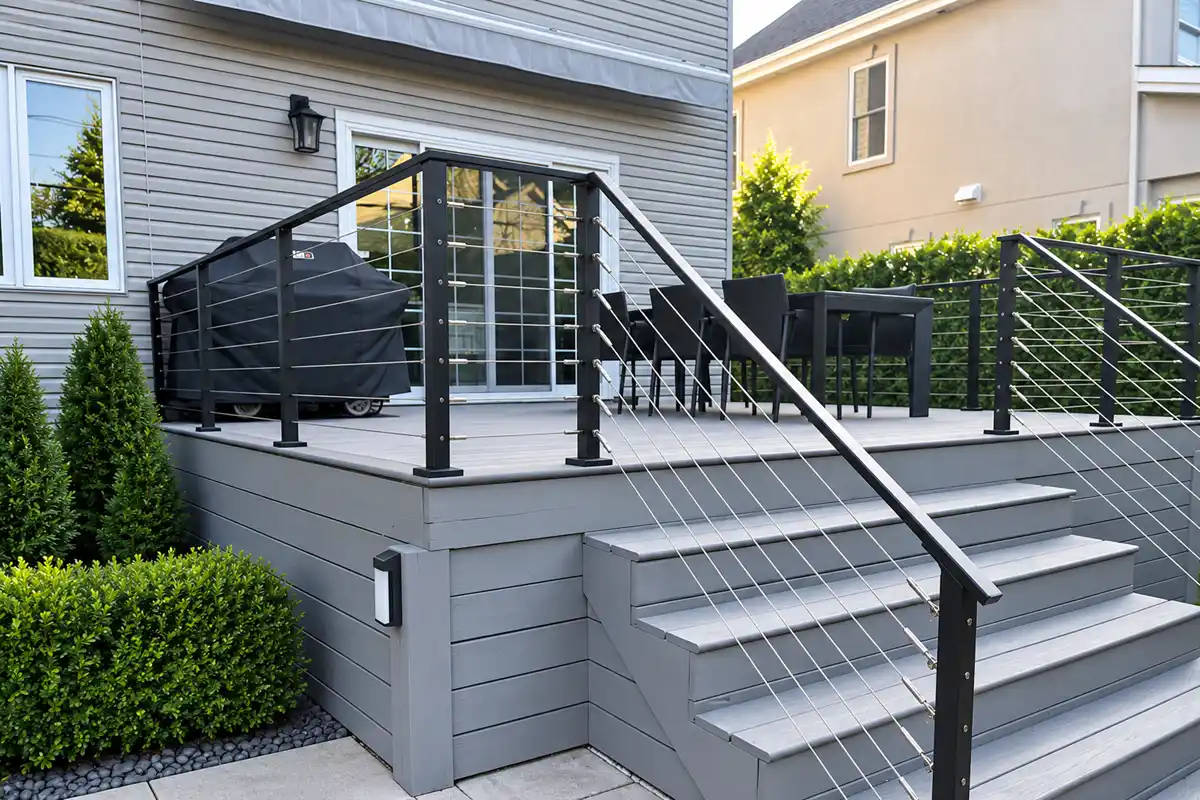
Cable railing posts are not decorative. They carry tension. Yet many crews space them like wood balusters, at 6 or 8 feet.
That spacing is too wide for cable. The cables deflect between posts, and the 4-inch gap rule fails immediately.
The fix: Keep intermediate posts at 4 feet or less for cable systems. Also, add intermediate cable spacers if any run exceeds that distance. Our cable railing hardware guide covers spacing tables in detail.
3. Anchoring Into the Wrong Substrate
A perfect post means nothing if the base fails. Installers often bolt a base plate to a single deck board or to a thin composite surface.
Then the post rocks under load. The whole run goes slack.
The fix: Anchor into structural framing, blocking, or concrete. Use the fastener size the manufacturer specifies, not the closest lag screw in the truck. For concrete, verify edge distance before drilling. Moreover, always block behind rim joists on deck applications.
4. Over-Tensioning or Under-Tensioning the Cables
Tension is a number, not a feeling. Many crews tighten cables until they “sound right.” That guesswork causes two opposite failures.
Under-tensioned cables sag and fail the sphere test. Over-tensioned cables bow the end posts inward and can shear fittings.
The fix: Target roughly 200-250 lbs of tension per cable on a standard 1/8″ or 3/16″ run. Use a tension gauge. Then tension from the middle cable outward, not top to bottom. Finally, re-tension after two weeks. Cable relaxes as it seats.
5. Skipping the Reinforced End Post
End posts take the full pull of every cable at once. On a 10-cable run, that load adds up quickly.
A standard intermediate post cannot handle it. So the post bends, and the cables go slack within days.
The fix: Use a heavier wall thickness or a braced end post. Alternatively, mount terminal fittings to a wall or structural column. UNIKIM offers reinforced terminal posts sized for the cable count on your drawing.
6. Mixing Hardware From Different Suppliers
Threads look standard until they are not. A tensioner from one factory may use a slightly different pitch than a stud from another. The parts start, then bind halfway.
Worse, mixed alloys create galvanic corrosion at the joint.
The fix: Source the full run from one manufacturer. Because we control the machining, every UNIKIM fitting matches every UNIKIM stud and tensioner. Buyers can review our full range on our Made-in-China storefront as well.
7. Drilling Stair Posts at the Wrong Angle
Stair runs are where most cable jobs go wrong. Crews drill holes perpendicular to the post instead of parallel to the stair slope.
The cable then rubs the edge of the hole. Over time, that friction cuts strands and marks the post.
The fix: Match the drill angle to the stair pitch, usually 30-38 degrees. Also use angled washers or swivel fittings at every transition. These small parts protect the cable and keep tension even.
8. Ignoring Local Building Code
Code changes by country and by state. The 4-inch sphere rule applies in most of the United States. Cable spacing of 3 inches or less is common for compliance, because cable stretches.
Many importers order 4-inch spacing to save on cable. Then the inspector rejects the job.
The fix: Confirm code before you order, not after. Check guard height, infill spacing, and load requirements for the specific jurisdiction. Our cable railing systems buying guide explains the common compliance points for export markets.
9. Poor Glass Hardware Fit
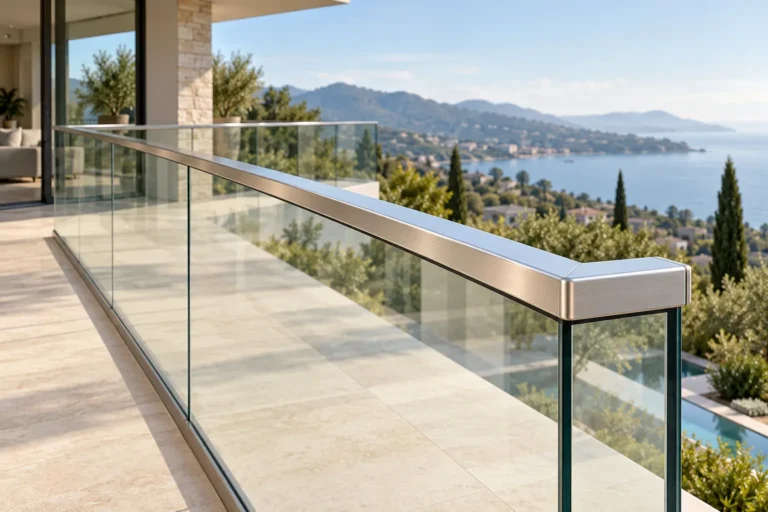
Glass railing has its own version of these problems. The most common one is a channel or clamp sized for the wrong glass thickness.
A 12mm clamp on 10mm glass leaves play. The panel rattles in wind. Eventually, the edge chips and a crack spreads from the contact point.
The fix: Match hardware to the exact glass thickness and gasket set. Always use setting blocks at the base. Never let glass touch metal directly. For frameless work, our frameless glass railing systems ship with matched gaskets, and our glass railing manufacturer guide covers thickness pairing.
10. Contaminating the Stainless Steel Surface
This mistake is invisible on install day. Crews cut stainless with a carbon steel blade, or they grind mild steel nearby. Tiny iron particles land on the railing.
Those particles rust. The rust then looks like the stainless itself failed, and clients lose confidence in the product.
The fix: Use dedicated stainless tools and abrasives. Keep the railing away from grinding work. Afterward, clean the surface with a stainless cleaner and passivate any field-cut edges. This one habit prevents most warranty complaints.
Cable vs Glass: Where Each System Fails
Different systems fail in different places. Use this table during your pre-install walkthrough.
| Risk area | Cable railing | Glass railing |
|---|---|---|
| Most common error | Wrong tension | Wrong hardware-to-glass fit |
| Early warning sign | Visible sag | Panel movement or rattle |
| Structural weak point | End post | Base channel anchorage |
| Corrosion risk | Fittings and swage studs | Clamps and standoffs |
| Typical rework cost | Moderate | High (glass replacement) |
Glass mistakes cost more, because a cracked panel cannot be repaired. Cable mistakes are usually correctable on site. So plan glass jobs with extra review time.
A Simple Pre-Installation Checklist
Run through this list before the first hole is drilled. It takes ten minutes and prevents most railing hardware installation mistakes.
- Confirm the grade. 316 for coastal, pool, and humid sites. 304 for dry interiors.
- Confirm spacing. Posts at 4 feet or less for cable. Cable gaps at 3 inches.
- Confirm the substrate. Locate framing, blocking, or concrete at every post.
- Confirm the end posts. Reinforced or wall-mounted at every terminal point.
- Confirm the angle. Match stair drilling to the actual slope.
- Confirm the glass. Thickness, gasket, and setting blocks all matched.
- Confirm the tools. Stainless-only blades and abrasives on site.
- Confirm the code. Height, infill, and load values for the local authority.
Print it. Give it to the crew. Because a checklist catches what memory misses.
Choosing Hardware That Prevents Problems
Good installation starts with good sourcing. Ask suppliers these questions:
- Do you machine your own fittings, or resell them?
- Can you confirm the stainless grade with mill documentation?
- Do tensioners and studs share matched threads across your catalog?
- What glass thicknesses do your channels accept?
- Do you supply installation drawings with the order?
A supplier who answers all five clearly will save you field time. One who cannot may leave you sorting mismatched parts on a scaffold.
Why Buyers Choose UNIKIM
UNIKIM manufactures railing hardware directly, without middlemen. That gives our clients three practical advantages.
Consistent tolerances. We machine studs, tensioners, and fittings in one facility. So the parts fit each other every time.
Grade transparency. We supply 304 and 316 with clear marking and documentation. You always know what is going to a coastal site.
Installation support. Our team provides drawings, spacing tables, and tension specs with each order. We also publish step-by-step videos on our YouTube channel so crews can review technique before the job starts.
We serve distributors, contractors, and architects across North America, Europe, Australia, and the Middle East. Whether you need stainless steel cable by the reel or complete glass balcony hardware, our team can quote from your drawings. See our glass balcony railing hardware buyer’s guide for specification help, or contact our team directly.
FAQ
What are the most common railing hardware installation mistakes?
The most common railing hardware installation mistakes are wrong stainless grade selection, excessive post spacing, weak anchoring, and incorrect cable tension. Each one shows up within the first year. Fortunately, all four are prevented at the ordering and layout stage, before any drilling begins.
How tight should cable railing be installed?
Aim for roughly 200-250 lbs of tension per cable on standard 1/8″ and 3/16″ runs. Use a tension gauge instead of judging by hand. Then re-tension after two weeks, because new cable seats and relaxes slightly during that period.
Can railing hardware installation mistakes be fixed after the job is finished?
Some can. Cable tension, spacer placement, and surface contamination are usually correctable on site. However, wrong stainless grade and cracked glass panels require replacement. That is why grade and glass thickness should always be verified before shipping.
Which stainless steel grade should I use for outdoor railing?
Use 316 stainless steel for any site near salt water, pools, or heavy humidity. Use 304 for dry inland and interior projects. The price difference is small compared to the cost of replacing a corroded run, so choose 316 whenever the environment is uncertain.
Do glass railing systems have the same installation problems as cable?
Not exactly. Cable systems fail mostly from tension and spacing errors. Glass systems fail from hardware fit, missing setting blocks, and weak base anchorage. Because glass cannot be repaired, these errors cost more to correct.
Summary
Strong railings come from three things: correct hardware, correct layout, and correct sequence. Get the stainless grade right for the environment. Keep post spacing tight and end posts reinforced. Tension cables to a number, not to feel. Match glass hardware to the actual panel thickness. Finally, protect the stainless surface from iron contamination during the build.
These habits take almost no extra time. Yet they eliminate nearly every callback a railing contractor faces.
Avoiding railing hardware installation mistakes starts with a manufacturer who supplies matched, documented, correctly graded components. UNIKIM builds railing hardware for that exact purpose, and our team is ready to review your next project drawings.