When it comes to modernizing your home, DIY cable railing systems have become one of the most popular choices among homeowners and contractors alike. Their sleek, minimalist look, combined with durability and low maintenance, makes them ideal for decks, staircases, balconies, and interior spaces.
But before you begin your project, it’s crucial to understand the tools and components needed for a successful DIY cable railing installation. Missing even one key element can delay your project or affect the final result.
In this comprehensive guide, we’ll break down everything you need—from tools to hardware—while also sharing expert insights, comparisons, and practical tips to help you achieve a flawless finish.
Why Choose DIY Cable Railing?
DIY cable railing systems are more than just a design trend—they offer real functional benefits. Compared to traditional wood or glass railings, cable systems provide:
- Unobstructed views
- High durability (especially stainless steel)
- Low maintenance requirements
- Modern aesthetic appeal
According to industry reports, stainless steel cable railing systems can last over 20–30 years with minimal upkeep, making them a long-term investment.
If you’re new to this concept, you can explore a detailed overview in this ultimate guide to cable railing DIY kits.
The Basics of DIY Cable Railing Systems
Before diving into tools and components, it helps to understand what makes up a cable railing system.
A typical system includes:
- Posts (end, corner, intermediate)
- Stainless steel cables
- Tensioning hardware
- Top rails
- Mounting brackets
If you’re unfamiliar with railing systems in general, this guide on what is a railing system provides a helpful foundation.
Essential Tools for DIY Cable Railing Installation
Installing a DIY cable railing system requires precision. The right tools ensure clean cuts, proper tension, and a professional finish.
Measuring & Layout Tools
Accuracy is everything in cable railing installation.
You’ll need:
- Tape measure
- Level (preferably a laser level)
- Chalk line
- Carpenter’s square
Even a small measurement error can cause uneven cable spacing, which not only looks unprofessional but may also violate building codes.
Drilling & Cutting Tools
Drilling precise holes through posts is critical.
Common tools include:
- Power drill with high-quality drill bits
- Angle grinder or cable cutter
- Metal cutting saw (for stainless steel posts)
For stainless steel systems like those featured on stainless steel cable wire railing systems, using carbide-tipped drill bits ensures cleaner holes and longer tool life.
Cable Installation Tools
This is where the magic happens.
You’ll need:
- Cable crimping tool
- Swaging tool
- Wrench set
- Tension gauge
Proper tensioning ensures cables remain tight without sagging. Over-tightening, however, can damage posts or fittings.
Safety Equipment
Never overlook safety.
Essential gear includes:
- Safety goggles
- Gloves
- Hearing protection
- Dust mask
Working with metal cables and power tools can pose risks, so preparation is key.
Core Components of a DIY Cable Railings System
Now let’s explore the essential hardware that forms the backbone of your DIY cable railings.
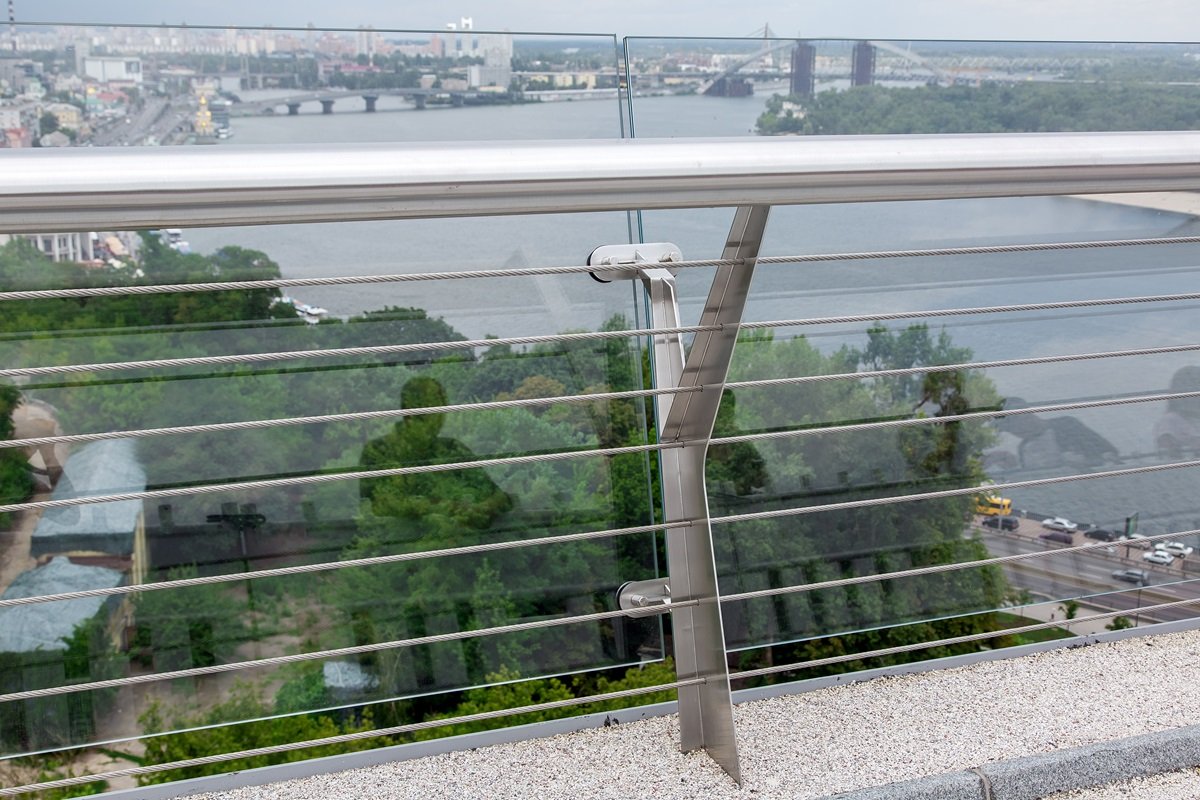
1. Stainless Steel Cables
Cables are the most visible element of your railing system.
Why stainless steel?
- Corrosion resistance
- High tensile strength
- Long lifespan
Marine-grade 316 stainless steel is recommended for outdoor use, especially in humid or coastal environments.
Explore premium options at stainless steel cable deck railing set.
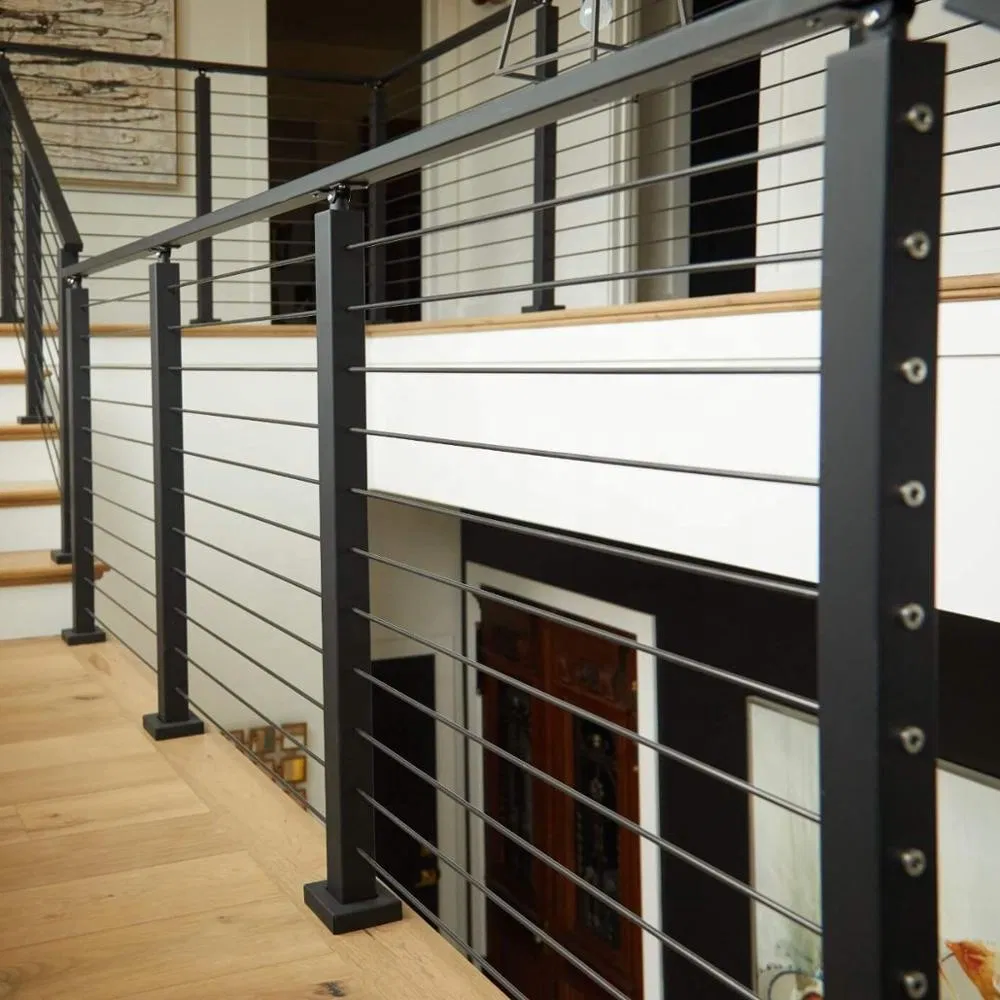
2. Railing Posts
Posts provide structural support and determine the layout of your system.
Types include:
- End posts
- Corner posts
- Intermediate posts
Spacing is crucial—most building codes recommend no more than 4 feet between posts.
For modern interiors, consider options like black stainless steel stair cable railing systems.
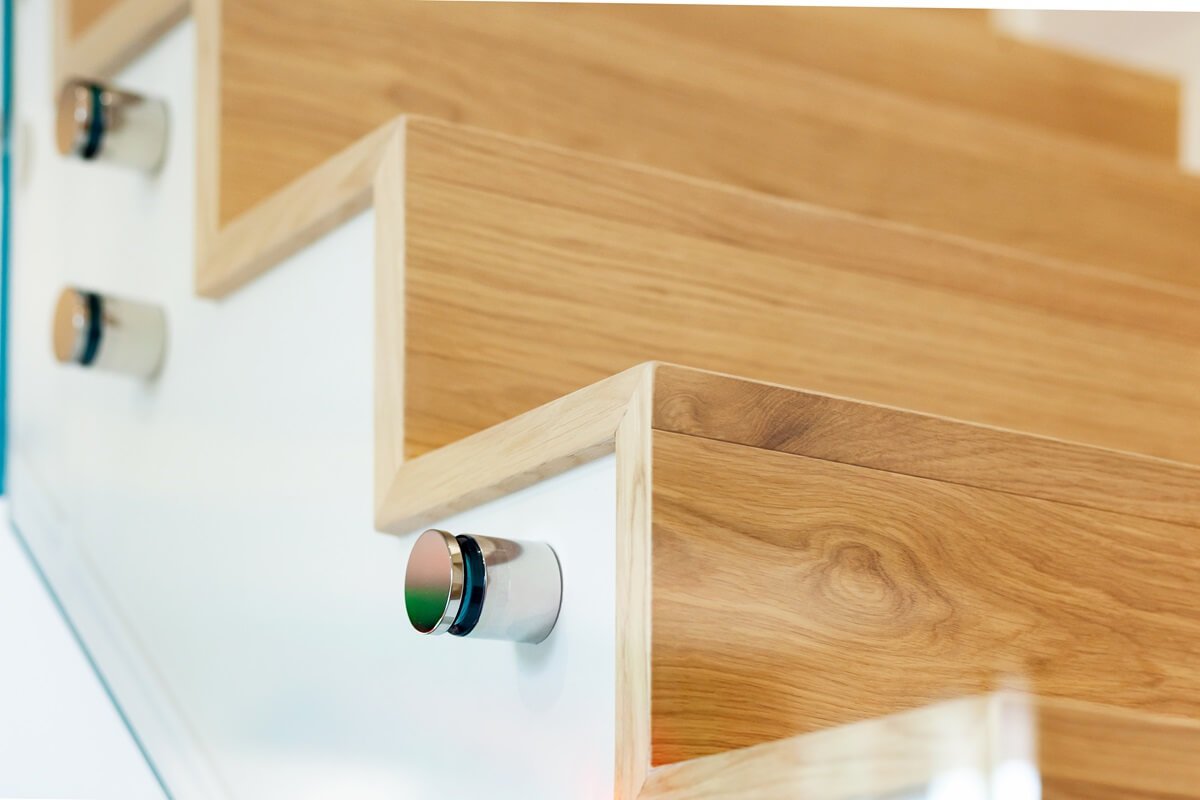
3. Cable Fittings & Hardware
These components secure and tension the cables.
Key fittings include:
- Tensioners
- Turnbuckles
- End caps
- Threaded studs
High-quality fittings prevent loosening over time. Cheap hardware can lead to sagging cables and frequent maintenance.
You can find professional-grade kits in this best stainless steel cable deck railing set guide.
4. Top Rails
Top rails add both safety and structure.
Common materials:
- Wood
- Stainless steel
- Aluminum
A sturdy top rail helps distribute tension evenly across posts.
For staircase applications, check out stainless railing systems for staircases.
5. Mounting Hardware
Mounting hardware connects the system to your deck or stairs.
Includes:
- Base plates
- Lag screws
- Anchors
The strength of your entire system depends on proper anchoring. Always ensure compatibility with your surface material (wood, concrete, or metal).
Comparing DIY Cable Railing vs Pre-Assembled Kits
| Feature | DIY Cable Railing | Pre-Assembled Kits |
|---|---|---|
| Cost | Lower | Higher |
| Customization | High | Limited |
| Installation Time | Longer | Faster |
| Skill Level | Moderate | Beginner-friendly |
If you prefer convenience, pre-configured solutions like those available on urailing.com can simplify the process.
Step-by-Step Overview of Installation
While each project varies, the general process follows these steps:
Step 1: Planning & Layout
Measure your space and determine post placement.
Step 2: Installing Posts
Secure posts firmly using appropriate anchors.
Step 3: Drilling Holes
Drill aligned holes for cables.
Step 4: Running Cables
Thread cables through posts.
Step 5: Tensioning
Tighten cables evenly using tensioners.
For a more detailed walkthrough, refer to this DIY front porch cable railing installation guide.
Mistakes to Avoid
Even experienced DIYers can make mistakes.
Avoid these pitfalls:
- Incorrect post spacing
- Uneven cable tension
- Using low-quality materials
- Ignoring local building codes
A well-planned DIY cable railing project saves time and money in the long run.
Cost Breakdown of DIY Cable Railing
Here’s an approximate cost estimate:
| Component | Cost Range (USD) |
|---|---|
| Cables | $1–$3 per foot |
| Posts | $50–$150 each |
| Fittings | $5–$20 per piece |
| Tools | $100–$300 total |
On average, a DIY cable railing project costs $50–$150 per linear foot, significantly less than professional installation.
Where to Source Quality Materials
Choosing reliable suppliers is essential.
You can explore high-quality systems and components directly from:
For manufacturing insights, visit Unikim’s official industrial profile or explore installation videos on their YouTube channel.
Maintenance Tips for Long-Term Performance
A properly installed DIY cable railing system requires minimal maintenance, but regular checks help extend its lifespan.
- Clean cables with mild soap and water
- Inspect fittings every 6 months
- Re-tighten cables if needed
- Check for corrosion in outdoor setups
Summary
A successful DIY cable railing project starts with the right tools and high-quality components. From stainless steel cables and sturdy posts to precision tools and reliable fittings, every element plays a vital role in achieving a professional finish.
By planning carefully, avoiding common mistakes, and sourcing materials from trusted providers like unikim, you can create a durable, stylish railing system that enhances your space for years to come.
If you need expert advice or customized solutions, don’t hesitate to contact the team for support.
FAQs
Is DIY cable railing difficult to install?
DIY cable railing is moderately challenging but manageable with the right tools and preparation. Many homeowners successfully complete DIY cable railing projects by following detailed guides.
What is the best material for DIY cable railing?
Stainless steel, especially grade 316, is the best choice for DIY cable railing due to its strength and corrosion resistance.
How far apart should posts be in DIY cable railing?
For safety and stability, posts in DIY cable railing systems should typically be spaced no more than 4 feet apart.
How tight should cables be in DIY cable railing?
Cables should be tight enough to prevent sagging but not overly tight. Proper tensioning ensures your DIY cable railing remains safe and visually appealing.
Can DIY cable railing be used indoors?
Yes, DIY cable railing works beautifully indoors, especially for staircases and lofts, offering a modern, open look.