Frameless glass railings have become the pinnacle of modern design, offering unobstructed views, enhanced safety, and a touch of luxury to any space. At the heart of these elegant systems are glass railing clamps—the essential components that secure glass panels without bulky frames. Whether you’re a homeowner, contractor, or architect, understanding the correct installation process is crucial for both safety and aesthetic excellence.
Transform your deck, balcony, or staircase with the sleek, modern look of frameless glass railing systems. Glass railing clamps are essential components that ensure stability and safety while maintaining an unobstructed view. Whether you’re a homeowner tackling a DIY project or a contractor seeking professional insights, this comprehensive guide will walk you through the process of installing glass railing clamps with precision and confidence.
Understanding Glass Railing Clamps
Glass railing clamps are specialized hardware components designed to hold glass panels securely without the need for frames. They come in various styles, including:
- Clamp-on (Surface Mounted) Clamps – Attached directly to the surface (deck, stairs, or balcony).
- Side-Mounted Clamps – Fixed to the side of a post or structure.
- Standoff Clamps – Use metal rods (standoffs) to suspend glass panels.
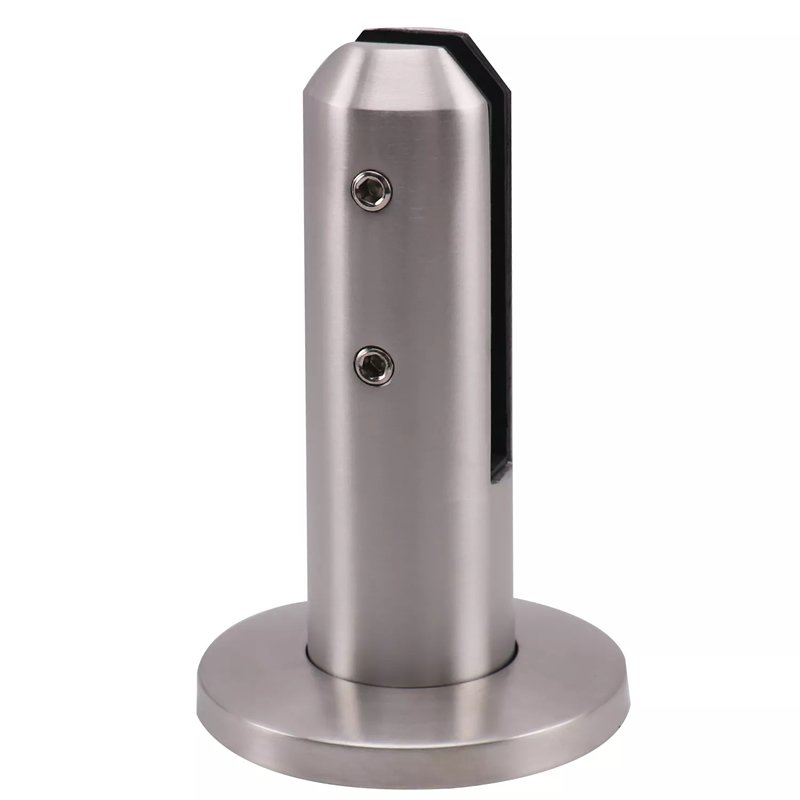
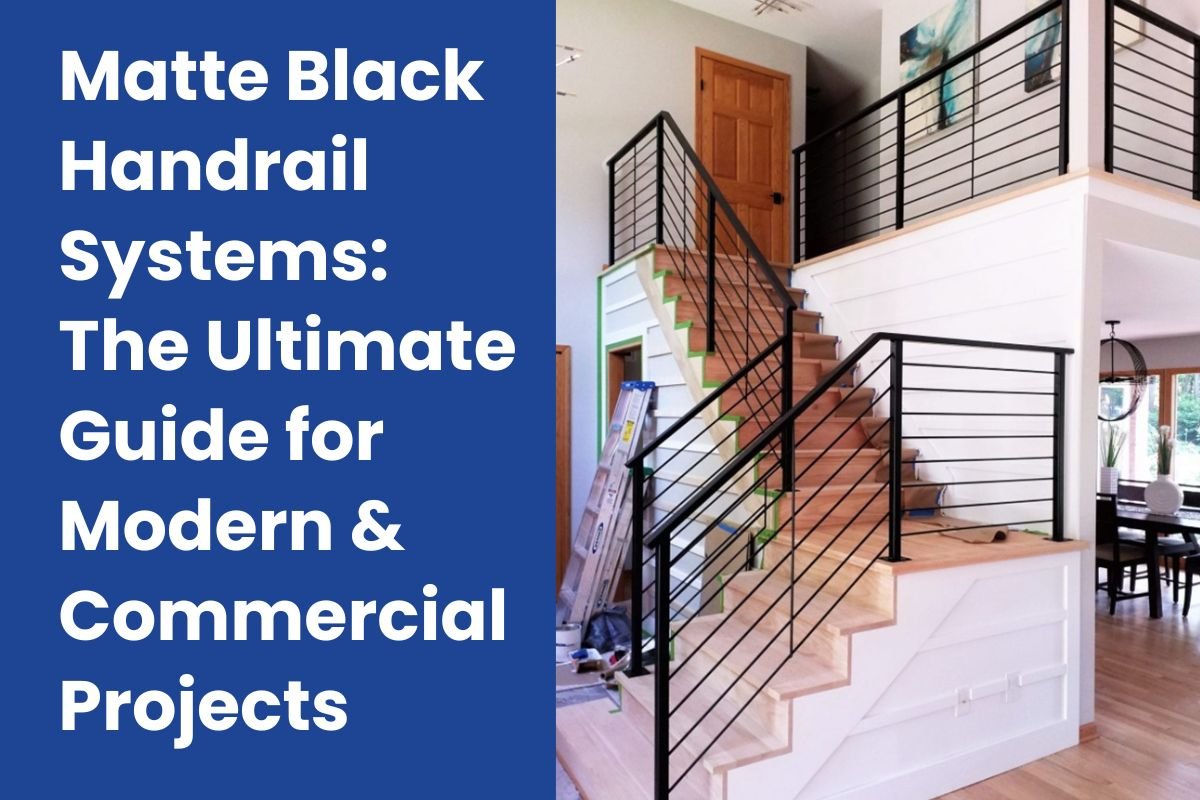
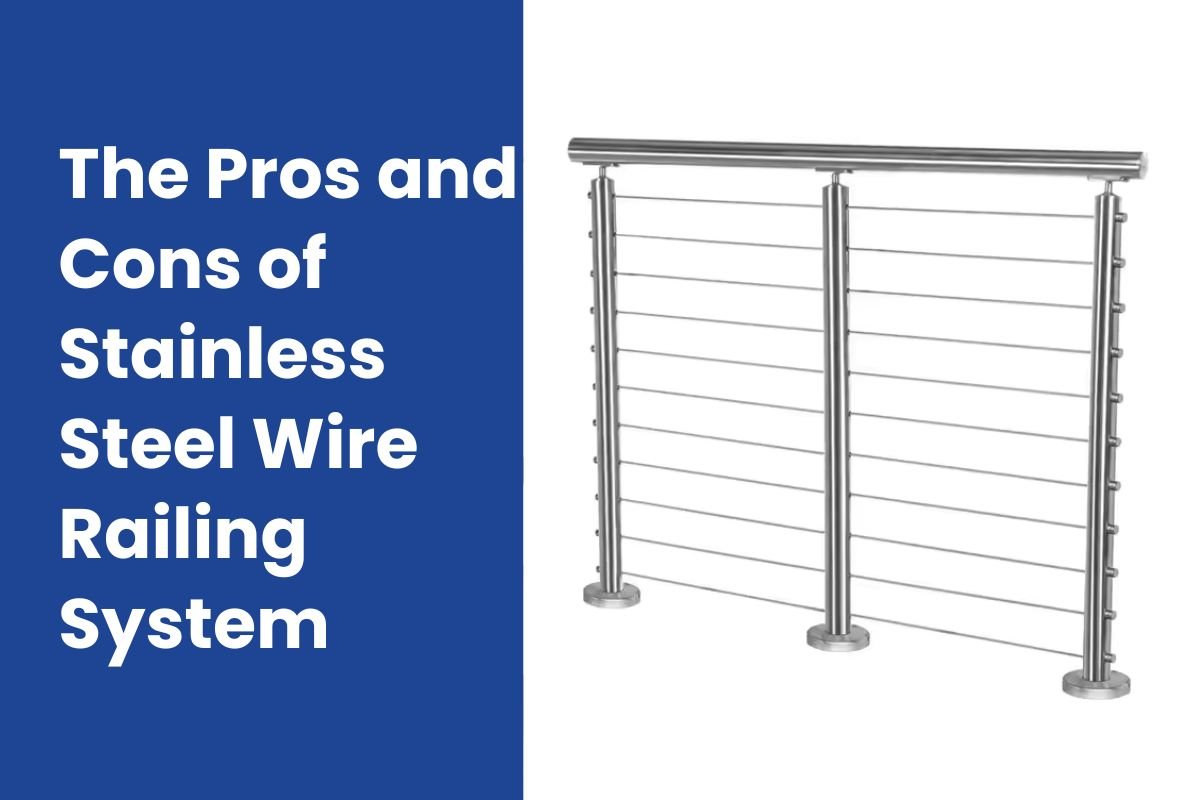
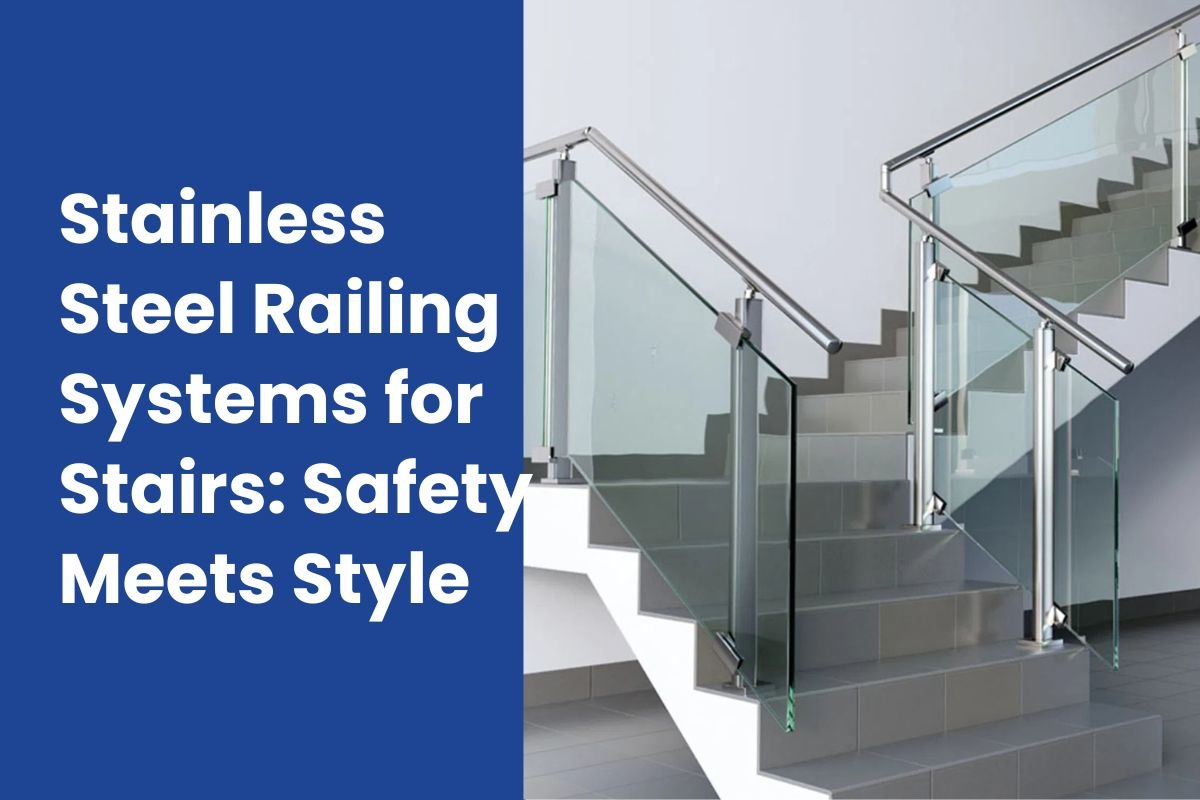
These clamps are typically made from stainless steel for durability and corrosion resistance. Explore our range of Stainless Steel Railing Systems for high-quality options.
Understanding Glass Railing Clamps: Types and Features
Before diving into the installation process, it’s crucial to understand the types of glass railing clamps available and their features. At URailing, we offer a range of clamps designed for different applications:
Types of Glass Railing Clamps
- Square Clamps: These provide a modern, geometric look and are ideal for straight-edged panels. They’re available in flat or radius base options for various mounting surfaces.
- Round Clamps: With a softer, curved aesthetic, round clamps are perfect for residential settings and can complement organic design elements.
- Glass-to-Glass Clamps: Used to connect adjacent glass panels, these ensure a seamless appearance and added stability.
- Adjustable Clamps: These allow for fine-tuning during installation, accommodating slight misalignments or curved surfaces.
Key Features to Look For
- Material: Opt for marine-grade stainless steel (e.g., Duplex 2205 or SS 316) for corrosion resistance, especially in coastal areas.
- Glass Thickness Compatibility: Clamps should match the thickness of your glass panels, typically 8-12mm for tempered glass.
- Rubber Gaskets: These prevent glass scratching and enhance grip, ensuring a secure fit.
- Adjustable Screws: Allow for precise tightening without damaging the glass.
Choosing the right clamp is the foundation of a successful installation. Visit URailing’s product category to explore our premium clamp options.
Tools and Materials Needed for Installation
Proper preparation is key to a smooth installation. Gather the following tools and materials before starting your glass railing clamps project:
| Category | Items |
|---|---|
| Tools | Measuring tape, chalk line, level, power drill with appropriate bits, Allen wrench, rubber mallet, glass suction cups, screwdriver, safety glasses, gloves |
| Materials | Tempered glass panels (8-12mm), glass railing clamps, stainless steel screws/bolts, rubber gaskets, non-abrasive glass cleaner, shims (if needed) |
Pro Tip: Ensure all components are compatible with your local building codes. Check with your local authority or consult URailing’s experts for guidance.
Step-by-Step Guide to Installing Frameless Glass Railing Clamps
Installing glass railing clamps requires precision and care. Follow these detailed steps for a professional-grade installation:
Step 1: Plan and Measure the Installation Area
Accurate measurements are the backbone of a successful installation. Start by determining the centerline of your railing system:
- Use a measuring tape to outline the total length and height of the railing area.
- Mark the centerline with a chalk line to guide clamp placement.
- Measure the spacing between glass panels, typically leaving a ¾” to 2” gap (never exceed 4” to comply with safety codes).
- Account for any slopes, angles, or irregularities in the surface.
Note: For custom glass panels, provide exact measurements to your supplier. Learn more about planning in our railing system guide.
Step 2: Inspect and Prepare Materials
Before installation, verify that all components are in good condition:
- Check glass panels for cracks or chips.
- Ensure clamps, screws, and gaskets match the specifications of your project.
- Clean the installation surface to remove debris, ensuring a stable base.
Safety First: Wear safety glasses and gloves when handling glass to prevent injuries.
Step 3: Mark and Install Clamp Positions
Proper clamp placement ensures structural integrity:
- Mark clamp locations along the centerline, typically 6 inches below the top of the glass panel for aesthetic balance.
- For maximum stability, place clamps at approximately 25% of the glass length from each edge.
- Use a level to ensure all marks are aligned and plumb.
- Drill pilot holes using the appropriate drill bit for your surface (e.g., wood, concrete, or tile).
Tip: For concrete or tile, use a hammer drill with a masonry bit for precise holes.
Step 4: Secure the Clamps
Attach the clamps to the marked positions:
- Place the clamp base plate over the drilled holes and secure with stainless steel screws or bolts.
- Use a rubber mallet to tap the clamp gently, ensuring it’s fully seated.
- Tighten screws with an Allen wrench, but avoid over-tightening to prevent stress on the clamp or surface.
- Insert rubber gaskets into the clamp to prepare for glass panel insertion.
Pro Tip: Use shims if the surface is uneven to ensure clamps are level.
Step 5: Install Glass Panels
Handling glass panels requires caution and teamwork:
- Use glass suction cups for safe lifting and positioning. Two people are recommended for this step.
- Slide the tempered glass panel into the clamps, ensuring it rests securely on the rubber gaskets.
- Check alignment with a level and adjust as needed using the clamp’s adjustable screws.
- Tighten the clamp screws gently to secure the panel, ensuring the glass doesn’t touch the metal to avoid scratching.
Warning: Never handle wet glass panels, as they become slippery and increase the risk of accidents.
Step 6: Install Glass-to-Glass Clamps (If Applicable)
For continuous glass runs, use glass-to-glass clamps to connect adjacent panels:
- Position the clamp at the top edge of the panels, typically 6 inches below the glass height.
- Insert rubber gaskets and tighten the clamp screws to secure both panels.
- Ensure the gap between panels is consistent (¾” to 2”) and complies with building codes.
Note: These clamps enhance stability and maintain a seamless look.
Step 7: Final Adjustments and Cleaning
Complete the installation with a thorough inspection:
- Walk along the railing to test stability, applying gentle pressure to each panel.
- Tighten any loose screws and adjust alignments as needed.
- Clean the glass panels with a non-abrasive cleaner to remove fingerprints or debris.
Tip: Regular cleaning with a soft cloth keeps your railing looking pristine. Visit URailing’s about page for maintenance tips.
Common Mistakes to Avoid When Installing Glass Railing Clamps
Even seasoned DIYers can make mistakes. Here are common pitfalls and how to avoid them:
- Inaccurate Measurements: Double-check all measurements to prevent misaligned clamps or ill-fitting panels.
- Over-Tightening Screws: Excessive force can damage the glass or clamps. Tighten screws just enough to secure the panel.
- Ignoring Building Codes: Non-compliance can lead to costly reworks or safety hazards.
- Skipping Safety Gear: Always wear gloves and safety glasses to protect against cuts or debris.
- Using Incompatible Clamps: Ensure clamps match the glass thickness and project requirements.
Tip: Partner with a trusted supplier like URailing to avoid compatibility issues.
Maintenance Tips for Frameless Glass Railing Systems
To keep your glass railing clamps and panels looking pristine, follow these maintenance tips:
- Regular Cleaning: Wipe down glass with a non-abrasive cleaner and soft cloth to remove smudges or dirt.
- Inspect Clamps: Check for loose screws or signs of corrosion, especially in humid or coastal areas.
- Protect Against Scratches: Avoid abrasive cleaning tools that could damage the glass surface.
- Seasonal Checks: Inspect the railing system after extreme weather to ensure stability.
Note: Stainless steel clamps from URailing are low-maintenance but benefit from occasional inspections.
Why Choose Urailing for Your Glass Railing Clamps?
At URailing, we pride ourselves on delivering high-quality glass railing clamps and railing systems that combine style, safety, and durability. Here’s why we’re the preferred choice:
- Premium Materials: Our clamps are crafted from marine-grade stainless steel for unmatched longevity.
- Expert Support: Our team offers personalized guidance to ensure your project succeeds. Contact us today!
- Wide Selection: From square to adjustable clamps, we have options for every project.
- Customer Satisfaction: Learn more about our commitment to quality on our about page.
Explore our stainless steel railing systems to find the perfect clamps for your project.
Summary
Installing glass railing clamps is a rewarding project that enhances the beauty and safety of your space. By following this detailed guide, you can achieve a professional-grade frameless glass railing system with confidence. From planning and measuring to securing clamps and maintaining your railing, each step is crucial for a successful outcome. At URailing, we’re committed to providing top-quality clamps and expert support to make your project a success. Ready to get started? Explore our stainless steel railing systems or contact us for personalized assistance. Transform your space with the elegance of glass railings today!
FAQ
What are glass railing clamps?
Glass railing clamps are stainless steel brackets used to secure tempered glass panels in frameless railing systems. They provide stability without drilling holes in the glass, ensuring a sleek, modern look.
Can I install glass railing clamps myself?
Yes, with the right tools and careful planning, DIY installation is possible. However, for complex projects or to ensure compliance with building codes, consult professionals like URailing’s team.
What thickness of glass is suitable for railing clamps?
Most clamps are designed for 8-12mm tempered glass. Always check the clamp specifications to ensure compatibility.
Are glass railing clamps safe?
Yes, when installed correctly and paired with tempered glass, clamps provide a secure and durable railing system that meets safety standards.[](https://www.easiahome.com/install-glass-railing/)
How do I maintain my glass railing system?
Clean the glass regularly with a non-abrasive cleaner, inspect clamps for corrosion, and ensure screws remain tight. Learn more in our glass railing guide.