If you’re planning a cable railing project, one thing determines whether your system looks great and holds up for decades, or fails prematurely: your steel cable fittings. These small but mighty components are the connectors, tensioners, and terminators that hold your entire cable railing system together. Get them right, and you’ll have a railing that’s both beautiful and structurally sound. Get them wrong, and you’re looking at sagging cables, corrosion, or worse, a safety hazard.
Whether you’re a contractor installing a client’s deck railing or a homeowner tackling, this guide walks you through everything you need to know about installing steel cable fittings safely and correctly.
What Are Steel Cable Fittings?
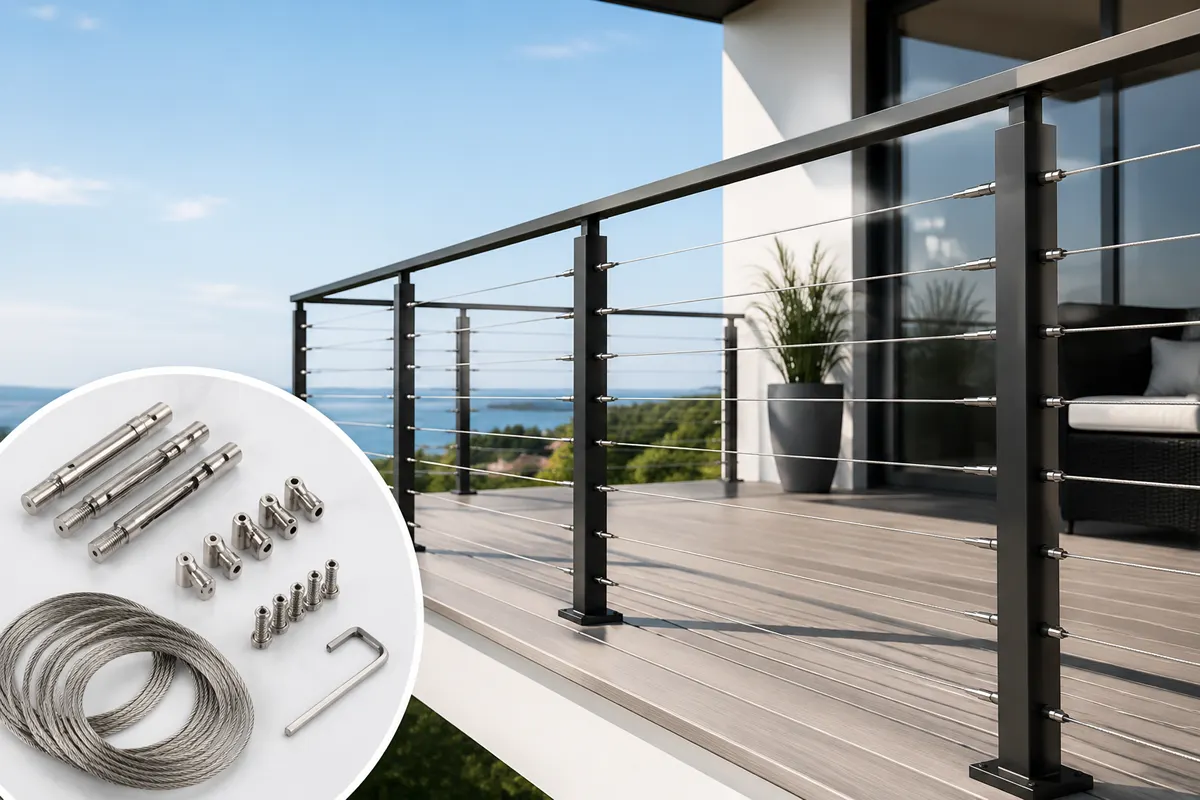
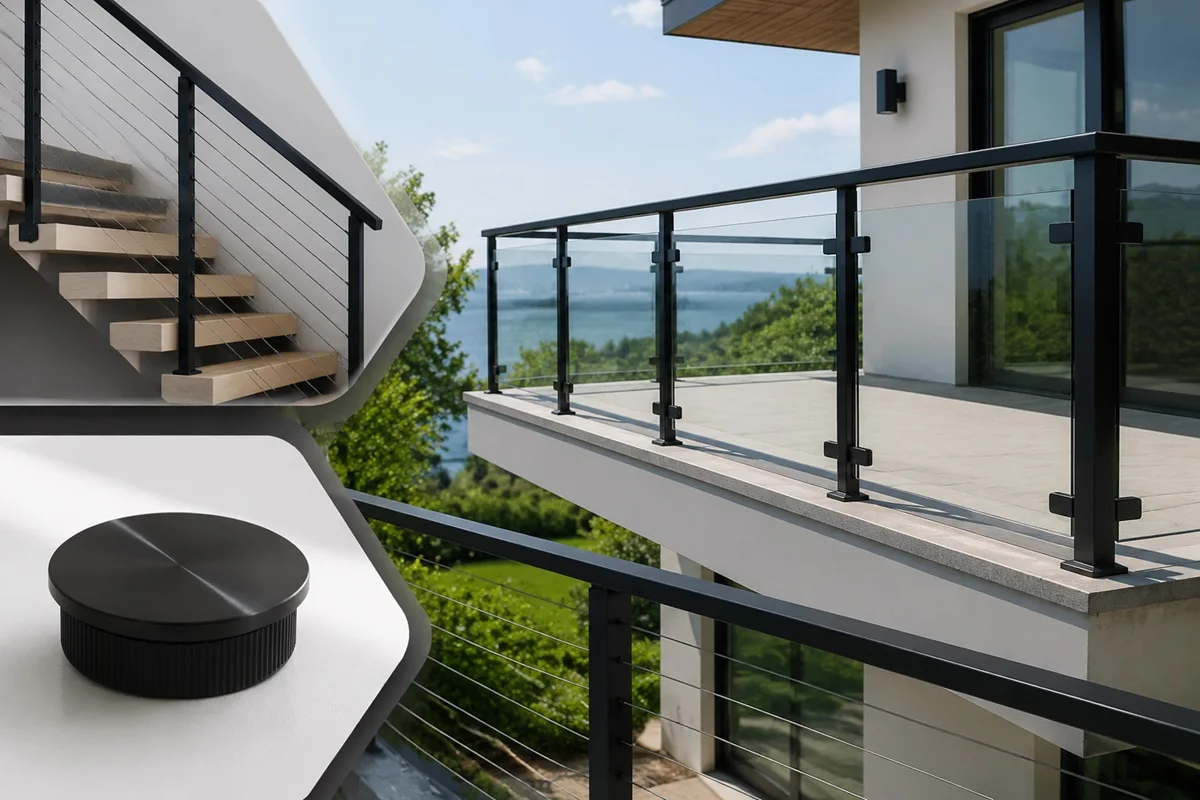
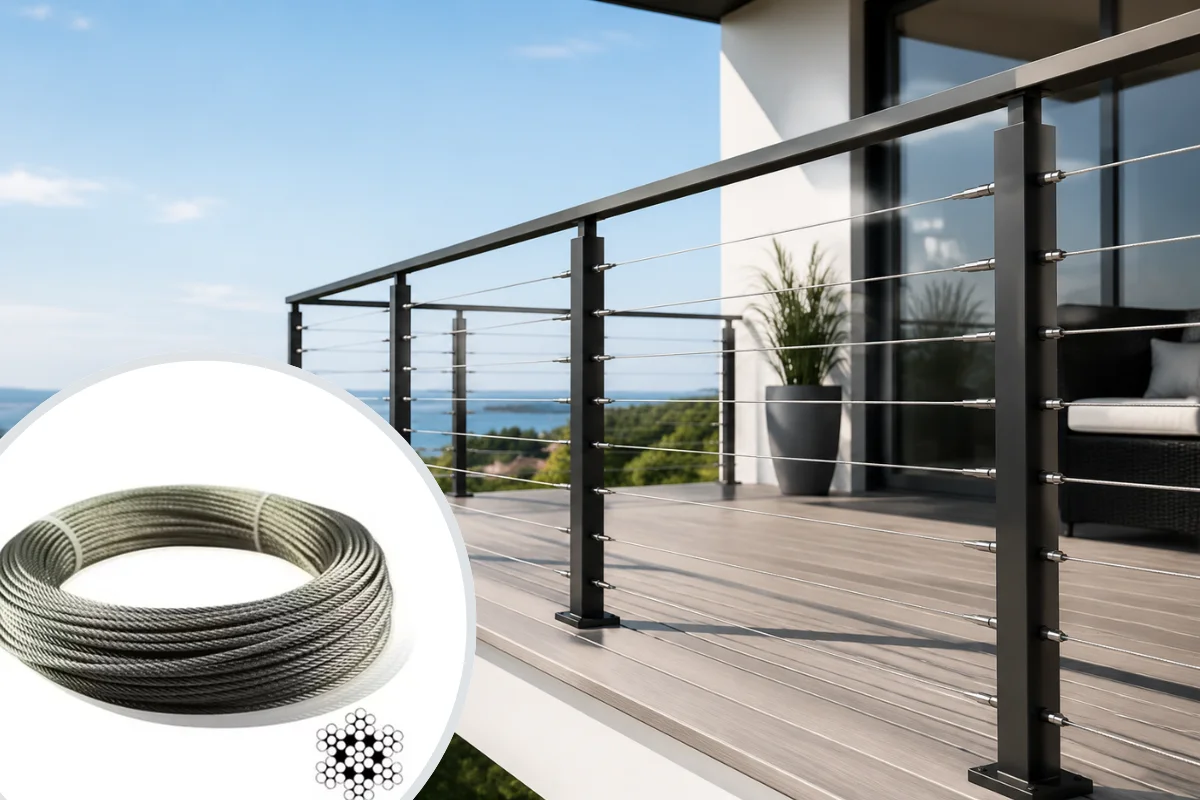
Steel cable fittings are the hardware components used to anchor, tension, and terminate cable in a railing or fencing system. This includes items like swage fittings, threaded terminals, turnbuckles, cable tensioners, and washers. Most quality fittings are made from stainless steel because of its resistance to rust, corrosion, and weather damage, which is especially important for outdoor installations like decks, balconies, and fences.
Choosing the right steel cable fittings isn’t just about aesthetics. These components bear real structural load, so quality and correct installation directly affect the safety of your railing system.
Why Proper Installation of Steel Cable Fittings Matters
Before we get into the steps, it’s worth understanding the stakes. A cable railing system relies on consistent tension across every run of cable. If your steel cable fittings are installed incorrectly, even by a small margin, you can end up with:
- Uneven or sagging cables that fail building code spacing requirements
- Premature wear on threads and swage fittings
- Corrosion from improper sealing or mismatched metals
- A railing that doesn’t meet the load-bearing standards required for safety
This is why sourcing your fittings from a best stainless steel supplier matters just as much as the installation process itself. Quality materials give you a much wider margin for error and a longer-lasting result.
Pre-Installation Checklist: Planning for Structural Integrity
Before drilling a single hole, structural calculations must be completed. Cable railings exert immense lateral pressure on end posts. When multiple lines of cable are tensioned to their required specs, the cumulative pulling force can exceed 1,000 to 3,000 pounds of tension per frame.
Post Sub-Structure Reinforcement
Ensure your end and corner posts are robust enough to withstand load requirements without deflecting. Wood posts should be at least $4 \times 4$ inches (nominal) and reinforced with heavy-duty structural screws. Metal posts require a minimum wall thickness of $3/16$ inches to prevent buckling under the stress of tightened steel cable fittings.
Spacing and Code Compliance
To satisfy the standard IBC (International Building Code) 4-inch sphere rule—which dictates that a 4-inch ball must not pass through any part of the railing—your physical layout should follow these strict spacing guidelines:
- Vertical Cable Spacing: Position runs no more than 3 inches apart on center. Cable stretches slightly over time; starting at 3 inches ensures that even under lateral pressure, the gap never expands past 4 inches.
- Post Spacing: Place intermediate vertical supports (posts or slender spacer bars) every 3 to 4 feet to limit cable deflection.
Step-by-Step Blueprint: Installing Steel Cable Fittings Safely
The following procedural breakdown applies to standard swageless and tensioner setups commonly found in professional affordable cable railing fence kits. Follow these stages sequentially to eliminate structural errors.
Layout Marking and Precision Drilling: Stage 1
Mark the hole locations precisely on your end, intermediate, and corner posts using a template. Use a drill guide to guarantee perfectly straight, horizontal holes. If you are running cables through wood posts, install protective stainless steel post sleeves (grommets) to prevent the hard wire rope from biting into and eroding the wood fibers over time.
Anchoring Fixed End Steel Cable Fittings: Stage 2
Anchor the non-tensioning end of your run first. Thread the terminal fitting into or onto the start post according to the manufacturer’s directions. If using a swageless terminal, push the bare cable firmly into the fitting until it seats fully against the internal locking jaws. Give it a sharp tug to verify the internal wedge mechanism has gripped the wire permanently.
Threading the Cable Through Intermediate Supports: Stage 3
Unspool the wire rope carefully, pulling it through the intermediate posts or spacer bars. Ensure the cable remains straight and free of kinks. A bent or kinked stainless steel cable compromises the structural integrity of the line and will create an unsightly blemish on the finished stainless steel railing.
Cutting to Length and Engaging the Cable Tensioner: Stage 4
Pull the cable taut by hand up to your terminal tensioning post. Mark the cut line based on your specific fitting’s requirements—many cable tensioner designs require the cable to be cut slightly shorter than the outside post edge to allow room for the tensioning body to pull inward. Cut cleanly using heavy-duty, bypass-action wire rope cutters. Insert the cut end into the tensioner fitting body.
The Tensioning Sequence: Stage 5
Do not fully tighten individual lines one by one. Tightening a single run fully before the others deform the post frame, leaving subsequent lines loose. Follow a balanced pattern: start with the middle cable, move to the absolute top cable, then the bottom cable, and alternate inward until all lines are firm. Tighten each cable tensioner evenly with a wrench while holding the cable body flat to prevent the wire from twisting.
Pro-Tips for Optimizing Hardware Longevity
Even when utilizing top-tier steel cable fittings, ambient environmental conditions can impact the long-term performance and appearance of a railing installation. Implement these professional practices to optimize your project’s longevity:
The Tension Rule of Thumb: Use a handheld cable tension gauge to ensure each strand registers between 200 and 300 lbs of tension. This ensures code compliance without over-stressing the structural anchoring points of the building.
Isolate Dissimilar Metals: Direct contact between stainless steel hardware and regular carbon steel or raw aluminum triggers galvanic corrosion (a chemical reaction that accelerates rusting). Always utilize plastic isolation washers or specialized zinc-rich primers when mounting steel cable fittings to alternative metals.
Apply Passivation and Lubrication: During assembly, apply a high-quality anti-seize lubricant to the threads of your cable tensioner components. This prevents thread galling—a form of wear caused by adhesion between sliding thread surfaces common in stainless steel. Wipe down completed assemblies with a metal passivating fluid to seal the surface against oxidation.
Choosing the Right Supplier for Steel Cable Fittings
Even the most careful installation can’t compensate for low-quality materials. This is why working with a ss able railing supplier is one of the most important decisions in any cable railing project. Look for suppliers who offer:
- Marine-grade (316) stainless steel for coastal or high-moisture environments
- Fittings that are precision-manufactured and load-tested
- Complete affordable cable railing fence kits that include matched, compatible components
- Clear technical specifications and installation support
A trustworthy supplier doesn’t just sell you parts. They help you build a system that’s rated for your specific application, whether that’s a residential deck, a commercial balcony, or a long stretch of property fencing.
Final Summary
Installing steel cable fittings is a project that rewards patience and precision. From planning your layout to tensioning your final cable, every step plays a role in the safety and longevity of your railing system. By sourcing quality materials, using the right tools, and following a methodical installation process, you’ll end up with a stainless steel railing system that’s both stunning and structurally sound for years to come.
If you’re ready to start your project, look for a supplier that offers complete kits, reliable fittings, and the technical guidance to get it right the first time. The right partner can turn a complicated installation into a straightforward, confidence-inspiring process.
FAQs
What is the ideal tension for a commercial steel cable fitting system?
Each individual line should generally be tensioned to between 200 and 300 lbs of force. You can measure this accurately using a handheld cable tension gauge. Tensioning the lines too loosely causes the cables to sag and fail the 4-inch sphere safety test, while over-tensioning can warp your end posts, pull anchors out of walls, or strip the threads inside your cable tensioner.
Do I need special tools to install swageless steel cable fittings?
One of the biggest benefits of modern swageless steel cable fittings is that they do not require expensive hydraulic crimping equipment. You can install them safely using standard wrenches, a drill guide, and a high-quality set of bypass wire rope cutters. However, if you are installing traditional swaged fittings, you will need a dedicated hydraulic swaging tool to mechanically compress the fitting sleeve onto the cable.
Can I mix different metals when mounting stainless steel cable hardware?
It is highly discouraged. Direct contact between stainless steel and dissimilar metals like raw aluminum or carbon steel causes galvanic corrosion, which rapidly degrades the hardware and weakens the installation. If you are mounting stainless steel fittings to an aluminum or iron post frame, always use plastic isolation washers, nylon bushings, or protective zinc-rich primers to separate the metals.
How do I choose between pre-packaged kits and bulk components?
Affordable cable railing fence kits are ideal for standard layouts (like straight decks and balconies) because they provide factory-matched components, eliminating measuring errors and simplifying procurement. On the other hand, purchasing bulk steel cable fittings is preferred for large-scale commercial contracts or complex architectural designs that involve custom angles, long cable runs over 50 feet, and unique post geometries.